As listed on her page, I picked up all the ingredients close by to avoid the mad rush of last-minute Christmas shoppers and stand a chance of being mauled. With items in hand, and Madeline strapped in the highchair, the following the directions was fairly easy, but warning, this page contains a lot of RECOMMENDATIONS from Me, Myself, and I, so disregard if you think you can wing it.


With the measurements prepared (because, trust me, you will want to be able to just pour in the items as needed instead of srambling for a bowl), I first got a large pot for my 1 cup of corn startch and 1 cup of sugar. Mix it, put over medium heat until it comes to a boil, and immediately remove from heat.
Second Recommendation: You might want to use a large pot so that you will not have to find a way to fit all the Rice Krispies for later.

Because you have to immediately remove the pot, your next item to mix in will be your 1 cup of peanut butter. (Creamy will be alot better to work with.)
Mix this until smooth, I put mine back on the stove for 1 minute later just so it would all mix nicely.

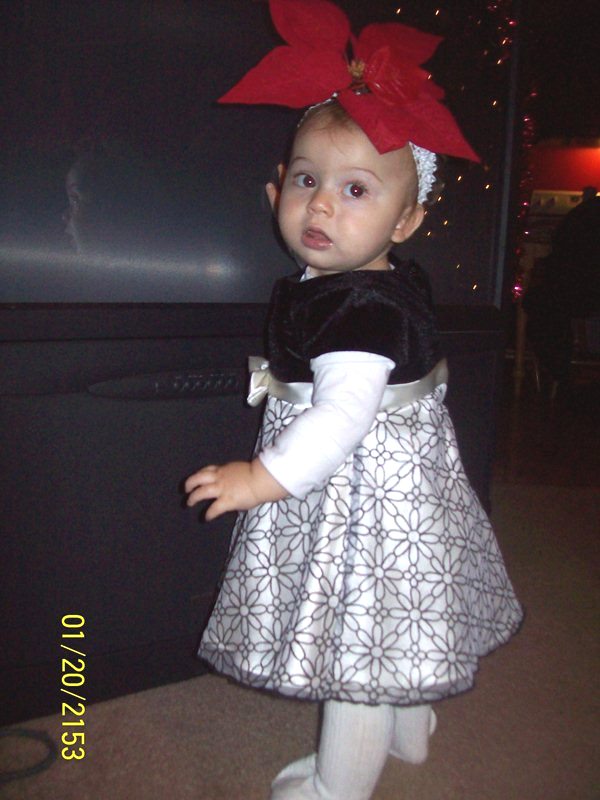
If you were like me where a baby was added to the preparation, by now they have consumed the few M&M's you have offered them and are squalling for more. I took out my spatula I was using to mix the peanut butter and gave for Madeline to help me clean.


Return to your pot, it is off the stove and add your Rice Krispies to the mixture, sifting and mixing to make sure the peanut butter is thoroughly mixed in.
Because the peanut butter is still hot, and the heat is essential to help hold your rice krispies together, you will want to go ahead and begin to plop the mixture into a 9x13 inch pan and start spreading and packing to maintain cohesiveness.

Okay, at this point I had to clean as I went, because the kitchen begins to feel a little overwhelming with clutter everywhere- so I clear off my station (3rd Recommendation, clean as you go and you won't feel as overwhelmed later!) and wash dishes. If you are lucky, you have a dishwasher, unfortunately for me mine has went out of commission, but you will wish you could put your baby into it if you do, if she/he looks anything like Madeline did after about 5 minutes:

At least she was content. Okay, so I waited to clean the baby until afterwards..
Now, because you made it a priority to pack your rice krispy and pb together first, you can now go ahead and pour your butterscotch and chocolate semi-sweet chips together and put in microwave to heat up. I didn't use a whole bunch of butterscotch because I am a bigger fan of chocolate, but I will go ahead and suggest to leave it out if you don't like it at all. 4th Recommendation for the day, you should melt your chocolate about 30 seconds at a time in the microwave to avoid burning it, and mix each time. If the chocolate seems pretty stiff, add a little vegetable oil to it while mixing to maintain smoothness.


I had to melt this for about 1 min 30 seconds in intervals and then poured over the rice krispy mixture.

Once you have smoothed and spread this over the mixture, your next step is....adding the M&M's..my favorite part!

I used Christmas colors to maintain the mood, but Jess used red, yellow and green to make a stop light..super cute!

Basically, you are pretty much almost finished, but the chocolate will need to set and cool- and it will eventually harden so you can cut into little bars or do what you may. Some dedicated cookers may wait on this to happen..but I stuck mine in the fridge and dug in our left over Taco Bell Burritos, painted my toes and watched Phineas and Ferb. (In my defense, it is a pretty good show, Madeline was tired and needed to take a nap, and I may never grow up..so what does it hurt?)
The great thing is, my toes looked Merry, Madeline was refreshed and happy, and our Scotcharoo bars turned out great and yummy!


Merry Christmas!